Why Regular Cleaning of Rubber Dog Toys is Non-Negotiable
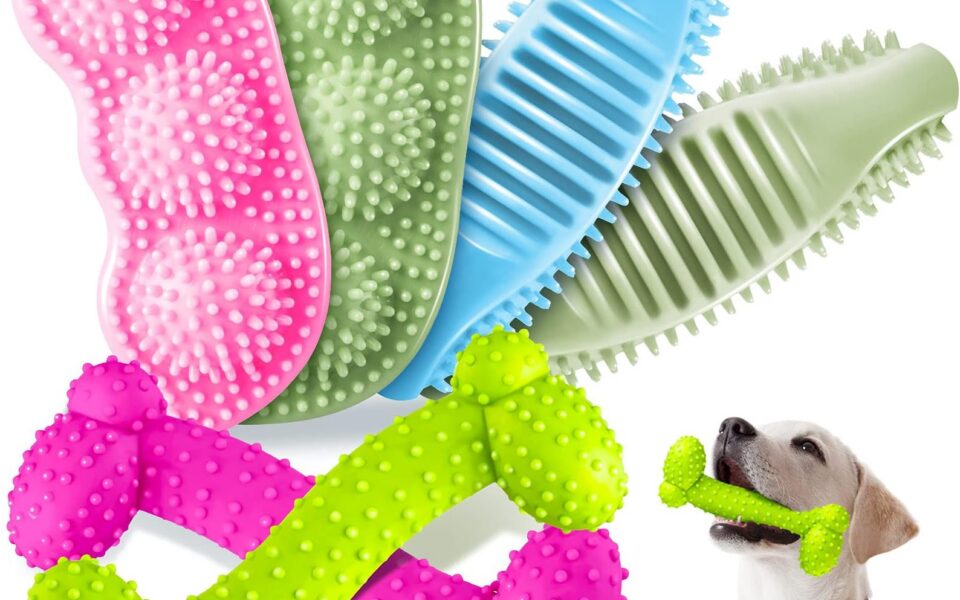
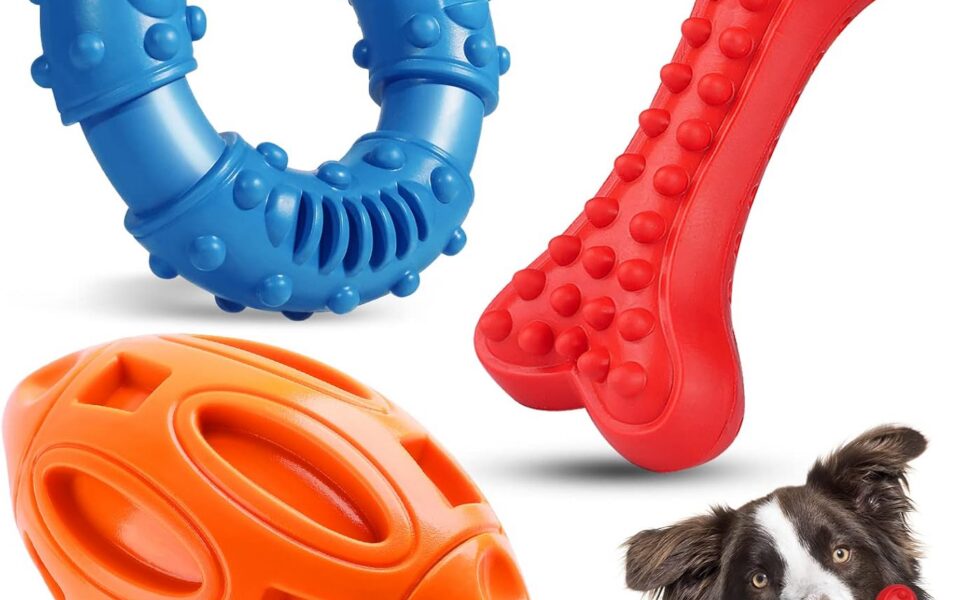
Rubber dog toys are a staple in most households with canine companions. They are durable, great for chewing, and perfect for games of fetch. However, these toys are also magnets for dirt, saliva, and bacteria. Every time your dog sinks their teeth into that rubber surface, they transfer oral bacteria onto the toy. Over time, this creates a biofilm—a slimy layer of microorganisms—that can build up in the tiny nooks, crannies, and texture grooves of the rubber.
Beyond just being unsightly, a dirty toy can become a health hazard. The accumulation of bacteria, mold, and yeast can lead to recurring ear infections, skin irritations, or gastrointestinal upset in sensitive dogs. Since we often use these toys to interact with our pets, we are also coming into contact with these pathogens. While you might not think twice about tossing a toy in the laundry, rubber requires specific care to avoid degradation. Harsh chemicals or high heat can break down the rubber compound, causing it to become brittle, sticky, or prone to tearing—posing a choking hazard.
This guide focuses on safe, household-friendly methods to keep your dog’s rubber toy collection hygienic without exposing your pet to harmful residues. We will cover routine cleaning, deep disinfection, and specific care for different types of rubber toys. The methods below are based on general material science principles for rubber care, but always check the manufacturer’s tag or label first, as some specialty rubber blends may have specific restrictions.
Preparation and Safety: What You Need Before You Start
Before you begin scrubbing, it is critical to assess the toy’s condition. If a rubber toy has visible cracks, tears, or has become stiff and brittle, do not clean it—discard it immediately. Damaged rubber can harbor bacteria deep within the cracks where cleaning solutions cannot reach, and pieces of torn rubber can detach and become a swallowing hazard.
Once you have a toy that is in good physical shape, gather your supplies. I recommend avoiding the dishwasher for rubber toys. The high heat of the drying cycle can warp rubber, and dishwasher detergent is often too aggressive, leaving residues that are difficult to rinse completely. Dishwasher pods also contain bleach or enzymes that can break down the rubber polymer over time.
Here is a list of effective, safe tools to have on hand:
- **Warm Water:** Not boiling water, but warm tap water (around 100°F–110°F) is ideal for loosening grime without damaging the material.
- **Mild Dish Soap:** A gentle, fragrance-free dish soap (like Dawn or Seventh Generation) is excellent for slicing through grease and saliva. Avoid soaps with strong perfumes or moisturizers, as these leave residues that can upset a dog’s stomach.
- **White Vinegar:** A natural disinfectant and deodorizer that is safe for pets in low concentrations. It is particularly good at neutralizing the “funky” odor that rubber toys develop.
- **Baking Soda:** Useful for abrasive scrubbing on textured surfaces and for absorbing lingering odors.
- **Bottle Brush or Toothbrush:** A dedicated cleaning brush with stiff bristles is necessary to get into the grooves and hollow centers of the toy.
- **Clean Towels:** For drying.
It is crucial to note that while some websites recommend bleach, I strongly advise against it. Bleach is difficult to rinse from porous rubber and can leave a residue that is toxic if ingested. If you suspect a toy has been heavily contaminated with bacterial growth, it is safer to throw the toy away and purchase a new one than to risk chemical exposure.
Method 1: The Daily and Weekly Wash (Soap & Water)
For toys that are used heavily on a daily basis, a quick rinse after use is beneficial, but a weekly deep wash is essential. The primary goal here is to remove debris and saliva biofilm before it hardens.
Step-by-Step Hand Washing:
Suggested read: Best Dog Toys for Teething Puppies: Chew-Proof Picks
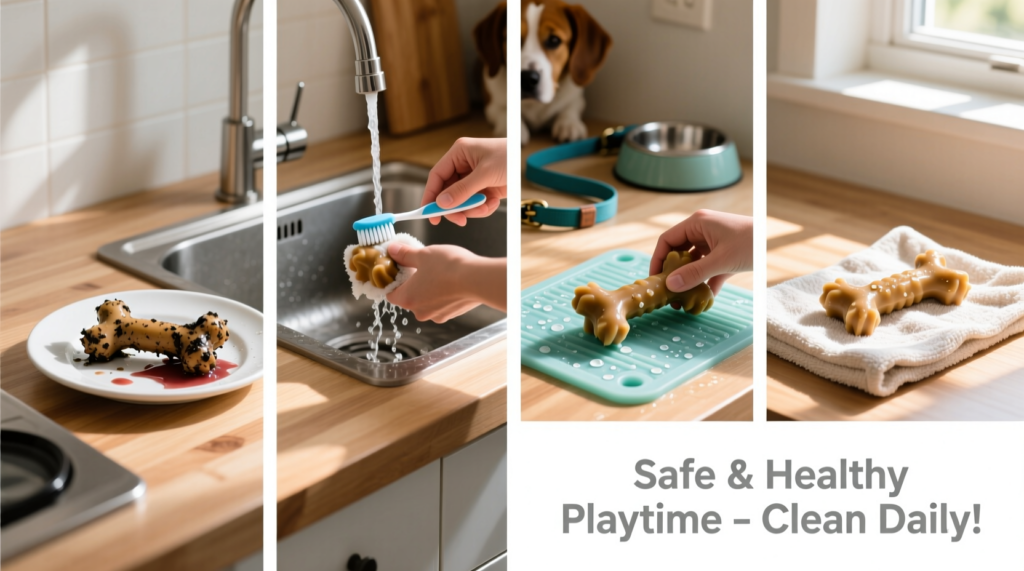
- Initial Rinse: Run the toy under warm tap water for 30 seconds to remove loose dirt and hair. Use your thumbs to wipe away surface grit.
- Sudsing: Apply a small drop of dish soap to your brush (or directly to the toy). Work the soap into a lather. Pay close attention to textured areas where dirt accumulates, such as the nubs on a Kong or the ridges on a tire toy.
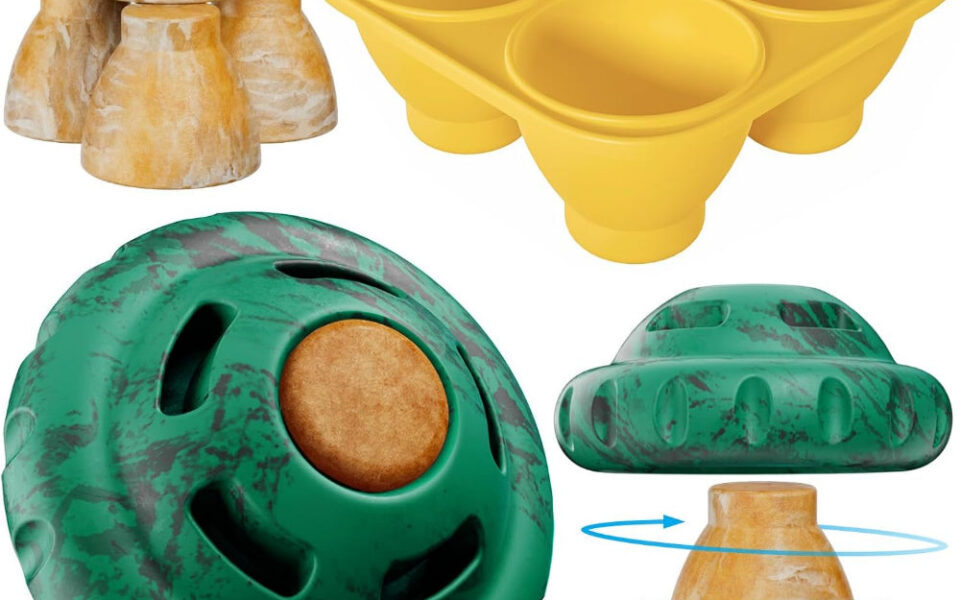
- Interior Cleaning: If the toy has a hollow opening, fill it halfway with warm, soapy water. Cover the opening with your thumb and shake vigorously for 20 seconds. This is the most effective way to clean the internal cavity that a brush cannot reach. Use a small bottle brush to scrub the inner walls thoroughly.
- Rinse, Rinse, Rinse: This is the most critical step. Rinse the toy under a strong stream of warm water for at least 1 minute. I suggest squeezing the sides to force water through and out of the hollow centers to ensure no soap bubbles remain. Soap residue is a leading cause of digestive issues in dogs.
- Air Dry: Place the toy on a clean drying rack or towel in a well-ventilated area. Ensure the toy is completely dry on the inside before giving it back to you pup. Trapped moisture creates a breeding ground for mold. If possible, use a paper towel to pat dry the interior.
This method is suitable for all types of rubber, including those with poor chemical resistance. If your dog is an aggressive chewer and the toy is covered in deep puncture marks, you may want to repeat this process twice a week to prevent bacteria from settling in those tiny wounds.
Method 2: Deep Disinfection with Vinegar and Baking Soda
Sometimes, even after a thorough soap wash, a toy can retain a rancid smell. This indicates bacterial metabolites are still present. In this case, you need a gentle disinfecting soak. White vinegar is a natural acid that kills many strains of bacteria and mold, and it is safe if ingested in the diluted concentrations we will use here.
The Deodorizing Soak:
This method is excellent for “stinky” toys and those that cannot withstand high heat. I do not recommend washing rubber toys in the washing machine, as the spin cycle can distort their shape and the machine’s internal drum can snag and damage the rubber.
Process for Vinegar Soak:
- Create a solution in a clean basin or bucket using a 1:1 ratio of warm water and white vinegar. For a large toy, use 2 cups of water and 2 cups of vinegar.
- Submerge the toy completely in the solution. If the toy floats, place a heavy plate or mug upside down on top of it to keep it submerged.
- Let it soak for 30 to 45 minutes. This soaking time breaks down stubborn mineral deposits and neutralizes odor-causing bacteria. Do not soak for longer than an hour, as prolonged exposure to acid can prematurely age the rubber.
- Remove the toy and rinse thoroughly under warm water. You will likely smell a faint vinegar scent, but this will dissipate as it dries.
- For extremely textured toys, create a thick paste of baking soda and warm water. Apply this paste to the toy with an old toothbrush, scrubbing into the pores. Baking soda acts as an excellent deodorizer and gentle abrasive. Let the paste sit for 10 minutes, then wash with soap and water as described in Method 1.
Table: Choosing the Right Cleaning Method
| Toy Type | Recommended Method | Frequency | Key Caution |
|---|---|---|---|
| Sturdy Chew Toys (Tires, Solid Rubber) | Dish Soap & Water | Weekly | Avoid abrasive brushes that create micro-scratches. |
| Hollow Interactive Toys (Kong-style) | Soap wash + Bottle brush | After every use | Always disassemble and dry the internal cavity to prevent mold. |
| Fetch Balls with Holes | Vinegar Soak | Bi-Weekly | Ensure the center hole is completely dry before tossing. |
| Squeaky Rubber Toys | Surface Wipe Only | Weekly | Do not submerge if the squeaker is not sealed, as water will ruin it and cause mold inside. |
How to Dry and Store to Prevent Mold Regrowth
Drying is arguably the most important part of the cleaning process. A cleaned toy that remains wet can develop mold within 24 hours. Because rubber is non-porous, it dries from the outside in, but hollow toys are tricky.
To speed up the drying process, use a clean, absorbent towel to press firmly against the toy, squeezing out excess water. For hollow toys, you can crumple a piece of newspaper or a dry paper towel and stuff it inside the cavity to wick away moisture. Remove this paper wick after 30 minutes and allow the toy to continue drying in the fresh air.
Sunlight is also a natural disinfectant. Leaving the toys outside in direct sunlight for a few hours can help kill residual UV-sensitive bacteria. However, do not leave them out for days, as UV rays can degrade the rubber and cause fading and cracking. A couple of hours in the sun when you are outside is perfect.
Regarding storage, keep rubber toys in a cool, dry place away from direct heat sources and radiators. Heat accelerates the breakdown of rubber polymers, making the toy sticky or hard. Do not store toys in sealed plastic bags while damp—always ensure they are 100% dry before placing them in a toy bin with other items, as moisture can transfer to metal or plastic toys and promote bacterial growth.
Suggested read: Best Chew Toys for Large Breed Dogs: Durable Picks for Power Chewers
Special Considerations for Textured, Scented, or Compound Toys
Not all rubber toys are created equal. Some toys are marketed as “flavored” or “scented.” These scent additives are often oils infused into the outer layer of the rubber. Aggressive cleaning, particularly with vinegar or strong dish soap, can strip these scenting oils, rendering the toy less interesting to your dog. For these toys, stick to a simple warm water rinse and a quick towel dry, rather than a full chemical soak.
There is also a growing category of “thermoplastic rubber” (TPR) toys which are technically rubber-like but not natural latex. TPR is generally more rigid and has a higher chemical tolerance than natural rubber (latex). Natural latex toys (like those made by some eco-friendly brands) are more sensitive to UV rays, citrus oils, and extreme temperatures. They will degrade quickly in the dishwasher.
If you notice that a toy has a “tacky” or sticky surface after cleaning, this is a sign that the rubber is breaking down chemically. This reaction is often accelerated by contact with citrus-based cleaners or excessive soaking in water, which can leach out plasticizers. Once a toy becomes sticky, it attracts dirt and should be replaced immediately, as it will also leave residue on your floors and upholstery.
Manufacturers are constantly evolving materials and care instructions. While these general cleaning guidelines are safe for the majority of rubber toys on the market in recent years, you should always defer to the packaging if it provides specific cleaning instructions. When in doubt, the safest approach is always to hand-wash with mild dish soap and air dry.
Signs It Is Time to Retire and Replace the Toy
Knowing when to throw a toy away is just as important as cleaning it. Cleaning a severely degraded toy is a losing battle. Pitch the rubber toy if you observe any of the following:
- Visible Tears or Holes: Your dog’s jaw pressure is immense, and any tear can catch a tooth or allow the toy to be shredded into pieces.
- Pieces Missing: If your dog is chewing off chunks, they are ingesting rubber. Even if the chunks are small, they can cause intestinal blockages in the long run.
- Difficulty Cleaning: If the toy has grooves so deep that you cannot get a brush inside, or if it feels sticky, remove it from rotation.
- Changes in Texture: Hardened rubber at one end and soft rubber at the other indicates uneven degradation. This fragility makes the toy unpredictable under pressure.
- Foul Odor That Persists: If you clean the toy and the bad smell returns within 24 hours, there is a bacterial colony living inside the rubber’s micro-pores. A bleach bath would kill it, but as stated, bleach is not safe for toys the dog will chew.
Replacing toys regularly is an affordable cost compared to a vet visit. Most high-quality rubber toys will last months with proper care, but no rubber is indestructible. By monitoring the condition and cleaning regularly, you ensure your dog remains happy, safe, and free from the slobbery consequences of contaminated toys.